Expert DIY Joinery Tips for Your Home Renovation
- joineryinstallco
- May 5
- 4 min read

When it comes to upgrading your kitchen or bathroom, getting the joinery right is key. I’ve learned that with the right approach, you can achieve professional-looking results without needing to call in the experts. Whether you’re refreshing your cabinets or adding new storage, these expert DIY joinery tips will help you get the job done smoothly and confidently.
Planning Your Project: The First Step to Success
Before you pick up any tools, take time to plan your project carefully. Good planning saves you time, money, and frustration later on. Start by measuring your space accurately. Use a tape measure and double-check every dimension. Remember, even a small mistake in measurement can cause big problems when fitting your joinery.
Next, sketch a simple layout of your kitchen or bathroom. Mark where each cabinet or shelf will go. This helps you visualise the final look and spot any potential issues early. If you’re working with existing joinery, check for any damage or uneven walls that might affect installation.
Tip: Write down a list of all the materials and tools you’ll need. This keeps you organised and ensures you don’t have to stop mid-project to hunt for something.

Essential DIY Joinery Tips for a Smooth Process
Once your plan is set, it’s time to prepare your workspace and gather your tools. A clean, well-lit area makes a huge difference. Clear out any clutter and protect your floors with drop cloths or cardboard.
Here are some essential tips to keep in mind:
Use the right tools: A power drill, spirit level, clamps, and a saw are basics you’ll need. Having quality tools makes your work easier and more precise.
Take your time: Rushing leads to mistakes. Work steadily and check your progress often.
Keep everything square: Use a carpenter’s square to ensure corners are perfectly right-angled. This is crucial for a neat finish.
Pre-drill holes: This prevents wood from splitting when you screw pieces together.
Use clamps: They hold pieces firmly in place while you work, improving accuracy.
If you want to dive deeper into practical advice, check out these diy joinery installation tips for more detailed guidance.

Choosing the Right Materials for Your Project
Material choice affects both the look and durability of your joinery. For kitchens and bathrooms, moisture resistance is important. Laminates and treated plywood are popular because they handle humidity well and are easy to clean.
Solid timber offers a classic, high-quality finish but needs proper sealing to protect against water damage. MDF is budget-friendly and smooth but less durable in wet areas.
When selecting materials, consider:
Durability: Will it stand up to daily use and moisture?
Appearance: Does it match your style and existing decor?
Ease of work: Some materials are easier to cut and shape than others.
Always buy a little extra material to allow for mistakes or adjustments. It’s better to have spare pieces than to run short halfway through.
Tips for Accurate Cutting and Assembly
Cutting your joinery pieces accurately is one of the most important steps. Even small errors can throw off the entire project. Here’s how to get it right:
Mark clearly: Use a pencil and ruler to mark your cut lines precisely.
Use guides: A straight edge or cutting guide helps keep your saw on track.
Cut slowly: Don’t rush the saw. A steady hand produces cleaner edges.
Sand edges: Smooth any rough edges with sandpaper for a professional finish.
When assembling, dry-fit all pieces first. This means putting everything together without glue or screws to check the fit. Adjust as needed before final assembly.
Use wood glue along with screws for stronger joints. Apply glue evenly and wipe away any excess before it dries.
Finishing Touches That Make a Difference
Once your joinery is assembled and installed, the finishing touches bring everything together. Sand all surfaces smoothly, then apply paint, stain, or sealant depending on your material and style.
For kitchens and bathrooms, a waterproof sealant is a smart choice to protect your work. Use a brush or roller for even coverage and allow plenty of drying time.
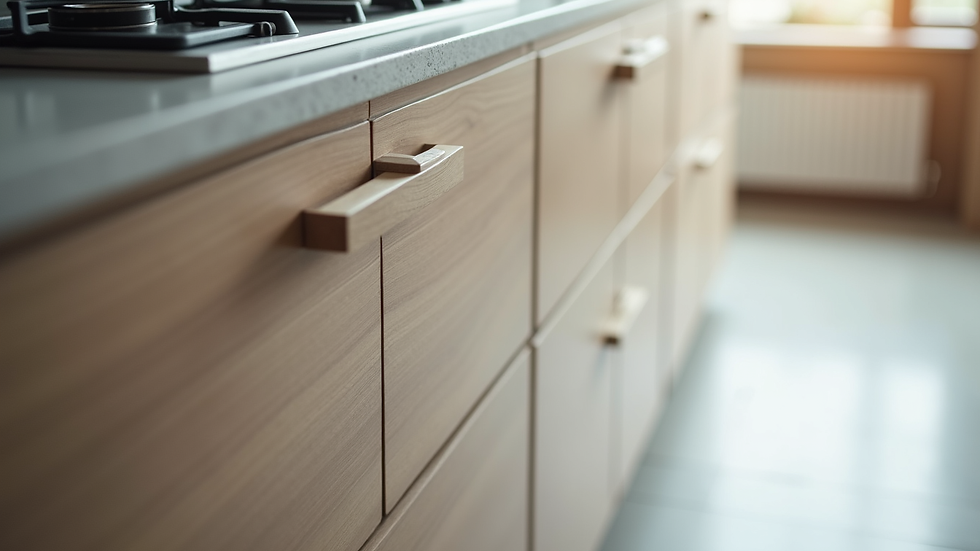
Hardware like handles and knobs can transform the look of your joinery. Choose styles that complement your room’s design. Installing these last ensures they don’t get damaged during construction.
Regular maintenance will keep your joinery looking great for years. Wipe down surfaces regularly and check for any loose screws or damage.
Ready to Take on Your Next Project?
With these expert DIY joinery tips, you’re well-equipped to tackle your kitchen or bathroom upgrade with confidence. Remember, careful planning, the right tools, and attention to detail are your best friends. Take your time, follow the steps, and enjoy the satisfaction of creating something beautiful with your own hands.
If you want to explore more detailed advice, don’t forget to check out the diy joinery installation tips for extra help.
Good luck with your project - your space is about to get a fantastic new look!